What to Expect During a Water Heater Installation: A Step-by-Step Walkthrough
If your water heater is on its last legs, you probably have questions. How long will the water heater installation process actually take? Will your house be a mess afterward? And what exactly happens between the moment a plumber walks in the door and the moment you have hot water again?
A professional water heater installation typically takes two to four hours and follows a predictable, five-step sequence: inspection, shutoff and drainage, removal, installation, and final testing. Knowing what to expect before installation day can take a lot of the stress out of an already inconvenient situation, especially if you're dealing with a unit that failed unexpectedly.
This walkthrough breaks down each stage of the process so you know exactly what's happening in your home, why it matters, and how to prepare.
How Long Does a Water Heater Installation Take?
Most standard tank installations take between two and four hours from start to finish, assuming there are no surprises with your existing plumbing or venting setup.
That said, a few factors can stretch the timeline. Tankless water heater installation tends to take longer, often four to six hours, because it may require new venting or electrical work. Homes with outdated gas lines, corroded shutoff valves, or code violations from a previous installation may also need extra time for repairs before the new unit can go in. If your water heater is tucked into a tight closet or attic, limited access can slow things down as well.
Step 1: Pre-Installation Inspection and Estimate
Before any work begins, a licensed plumber should inspect your current setup. This isn't just a formality. It's how they catch problems that could turn a routine installation into a bigger job.
During this inspection, a technician typically checks the venting system, gas line or electrical connections, water pressure, and whether your current setup even meets local code. Older homes especially can have outdated configurations that need updating before a new unit is installed.
This is also when you should get a written estimate. A clear, upfront estimate protects you from surprise charges and gives you a chance to ask questions about tank size, fuel type, and installation timeline before committing. If you're still weighing your options, it's worth requesting a free plumbing estimate so you know your costs before any work starts.
Step 2: Shutting Off Utilities and Draining the Old Unit
Once the job is confirmed, the plumber shuts off the water supply and the gas or electric power to the unit. This is a critical safety step that prevents leaks, electrical hazards, or gas exposure during the swap.
From there, the old tank is drained through its drain valve, usually into a nearby floor drain or outside through a hose. Depending on the tank's age and sediment buildup, draining can take anywhere from fifteen minutes to nearly an hour.
Pull stat: A water heater loses roughly 1 percent of its efficiency every year sediment is left to accumulate, according to industry maintenance data, which is one reason old tanks often struggle even before they fully fail.
Step 3: Removing the Old Water Heater
With the tank drained, the plumber disconnects the water lines, gas line or electrical wiring, and venting, then removes any straps or brackets holding the unit in place. In earthquake-prone areas, proper strapping is a code requirement, not an afterthought.
Once disconnected, the old unit is carried out and set aside for disposal. Most professional installers include haul-away and recycling as part of the job, so you typically don't need to figure out disposal yourself. Water heaters contain recyclable metal, and responsible plumbers will dispose of them properly rather than sending them straight to a landfill.
Step 4: Installing the New Water Heater
This is the heart of the water heater installation process, and where craftsmanship really matters.
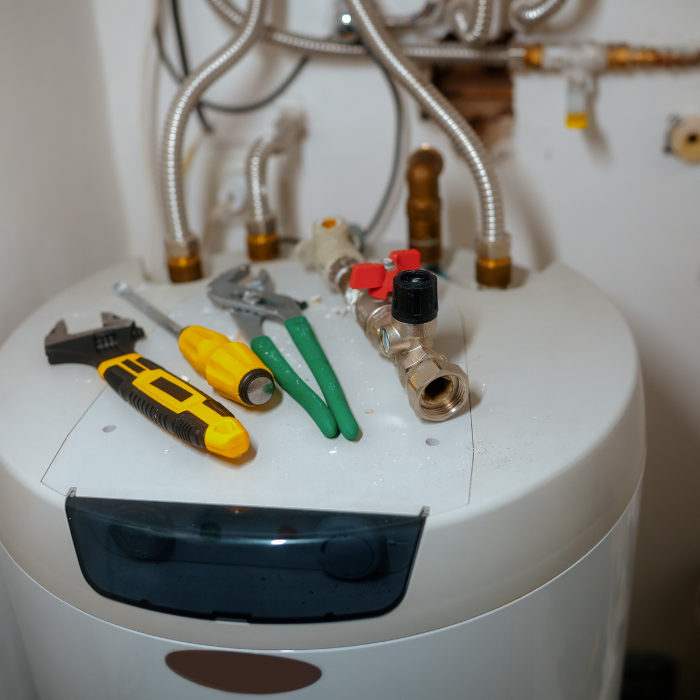
The plumber positions and levels the new unit, then secures it according to local code, including seismic strapping where required. Next comes the connection work: water lines, gas or electrical hookups, and venting are all attached and sealed.
If you're upgrading from a standard tank to a tankless system, this step may also involve installing new venting or upgrading electrical capacity, which is part of why tankless installations tend to run longer.
Permits are worth understanding too. Many cities require a permit for water heater replacement, particularly when venting or gas lines are altered. A reputable plumber will handle permitting as part of the job, so ask about this during your initial estimate if it isn't already included.
Step 5: Testing and Final Safety Checks
Once everything is connected, the plumber turns the water and power (or gas) back on and checks every connection for leaks. They'll also test the pressure relief valve, confirm the thermostat is set correctly, and let the tank fill completely before running hot water to check temperature and flow.
This final testing phase is what separates a rushed job from a proper one. A few extra minutes here can prevent a leak or malfunction down the road.
How Much Does Water Heater Installation Cost?
Water heater installation costs vary widely depending on tank size, fuel type, and whether any code upgrades are needed, but most standard tank installations fall within a moderate, predictable range once those factors are known.
Larger tanks cost more than smaller ones, and switching fuel types (say, electric to gas) adds complexity and expense because it usually requires new line work. Tankless systems have a higher upfront cost than traditional tanks but can offer long-term energy savings, which is worth factoring into your decision.
The best way to get an accurate number is a home visit rather than a phone quote, since so much depends on your specific setup.
Signs You Should Schedule a Water Heater Installation Soon
You don't have to wait for a total failure to start planning. Common warning signs include:
- Your water heater is more than 10 to 15 years old
- Rusty or discolored hot water
- Popping, rumbling, or banging noises from the tank
- Inconsistent water temperature
- Rising energy bills with no clear explanation
- Visible rust or moisture pooling near the base of the tank
Catching these signs early gives you time to schedule an installation on your terms, rather than dealing with an emergency without hot water.
Key Takeaways
- A standard water heater installation typically takes two to four hours; tankless systems often take longer.
- The process follows five main steps: inspection, shutoff and drainage, removal, installation, and final testing.
- A proper pre-installation inspection can catch code or safety issues before they become bigger problems.
- Permits are often required for replacement, especially when gas lines or venting are involved.
- Watching for early warning signs lets you schedule replacement proactively instead of during an emergency.
Final Thoughts
Understanding what to expect during a water heater installation makes the entire process far less stressful, whether you're replacing an aging unit or dealing with one that failed without warning. From the initial inspection to the final safety check, each step exists to make sure your new system runs safely and efficiently for years to come.
If your water heater is showing signs of age or you're ready to upgrade, be sure to work with a company that handles water heater repair and installation services and to walk you through every step above. And if your unit has already failed, look for 24/7 emergency plumbing services that are available to get your hot water back as quickly as possible.
Recent Posts